Timelapse
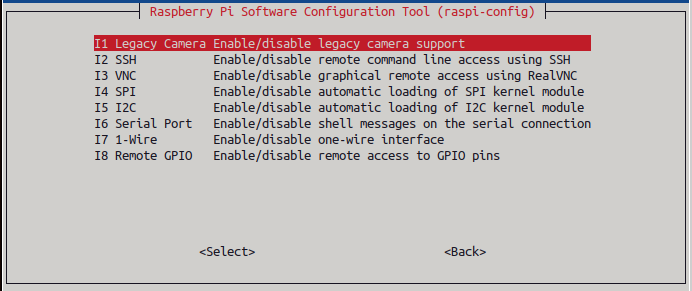
Motivated by this article on using the Pi and a Pi camera to create a timelapse of the sunrise I set out to replicate it. I was using an old install of Raspian and it had been connected to a night vision camera which required the legacy camera stack activated from sudo raspi-config. After switching to the new camera and trying to undo the activation of the legacy support without success I simply reinstalled Raspbian and everything worked with no need to activate the camera.
As I had bought the latest Pi Camera 3 I needed to make a few changes. Most of them were minor, the biggest ones are specific to the version 3 camera in the first block below.
camera = Picamera2()
# My camera is upside down so rotate the image by 180 degrees
camera_config=camera.create_still_configuration(transform=Transform(180))
camera.configure(camera_config)
# The camera seems to not focus through glass so manually set infinite focus
camera.set_controls({"AfMode": 0, "LensPosition": 0.0})
# This is how to set autofocus
#camera.set_controls({"AfMode": 1})
camera.start()
The comments in the code explain the changes specific to my setup where I had to rotate the image because the camera is upside down and I set focus to infinity because my first attempts were very out of focus. I thought this was beacuse the camera is close to a window and was unable to focus through glass but when writing this I tried again wwith autofocus and it worked as expected so I'm not clear what the initial out-of-the-box behaviour was or whether my setting the focus mode somehow "fixed" it. The online manual for the Picamera2 python library was a good source of help.
Being much more used to bash scripting I find the python way of making system calls rather clunky, the command to be run is assembled as a text string and then passed to the system() command like this system(command_string). After getting the code running and creating timelapses I added a timestamp to each image which displays as a speeded up clock on the final video.
from picamera2 import Picamera2
from libcamera import Transform, controls
from os import system
import datetime
from time import sleep
pics="/home/stuart/Pictures/"
videos="/home/stuart/Videos/"

tlminutes = 180 #set this to the number of minutes you wish to run your timelapse camera
secondsinterval = 5 #number of seconds delay between each photo taken
fps = 30 #frames per second timelapse video
numphotos = int((tlminutes*60)/secondsinterval) #number of photos to take
print("number of photos to take = ", numphotos)

dateraw= datetime.datetime.now()
datetimeformat = dateraw.strftime("%Y-%m-%d_%H%M%S")
print("RPi started taking photos for your timelapse at: " + datetimeformat)

camera = Picamera2()
# My camera is upside down so rotate the image by 180 degrees
camera_config=camera.create_still_configuration(transform=Transform(180))
camera.configure(camera_config)
# The camera seems to not focus through glass so manually set infinite focus
camera.set_controls({"AfMode": 0, "LensPosition": 0.0})
# This is how to set autofocus
#camera.set_controls({"AfMode": 1})
camera.start()

# Delete all photos in the Pictures folder before timelapse starts
cmd="rm "+pics+"*.jpg"
system(cmd)

for i in range(numphotos):
    # create indexed filename with leading zeros
    filename=pics+f"image{i:06}.jpg"
    camera.capture_file(filename)
    # now add a timestamp on to the image
    add_timestamp="/usr/bin/convert "+filename+ \
        " -pointsize 72 -fill white -annotate +100+100 %[exif:DateTimeOriginal] " \
        +filename
    system(add_timestamp)
    sleep(secondsinterval)
print("Done taking photos.")
print("Please standby as your timelapse video is created.")

# Construct and execute the ffmpeg command to create the video
videofile=videos+"timelapse{}.mp4".format(datetimeformat)
ffmpeg_cmd="ffmpeg -framerate "+str(fps)+ \
    " -nostats -loglevel 0 \
    -pattern_type glob -i \""+pics+"*.jpg\" \
    -s:v 1440x1080 -c:v libx264 -crf 17 -pix_fmt yuv420p "+ \
    videofile
system(ffmpeg_cmd)
print('Timelapse video is saved as ' + videofile)
I wanted to use a free codec and while searching for a way to use the ogv video format I landed here which describes an alternative and slightly more elegant way to create the still images directly using the libcamera-still command. I couldn't get the quality options of the libtheora codec to give a decent final video and so rather than try I stayed with mp4.